
 by Roberto Rivera
PVE: Virtualization for Work and Play (Part 2)
Getting Started…
In the previous post, we learned about ProxMox Virtual Environment (PVE) and outlined the plan to build a powerful "bang for the buck" home server for games and other system-intensive pursuits. Before proceeding, you should feel a little comfortable with the Linux CLI (command line interface). Now let’s begin.
Installation
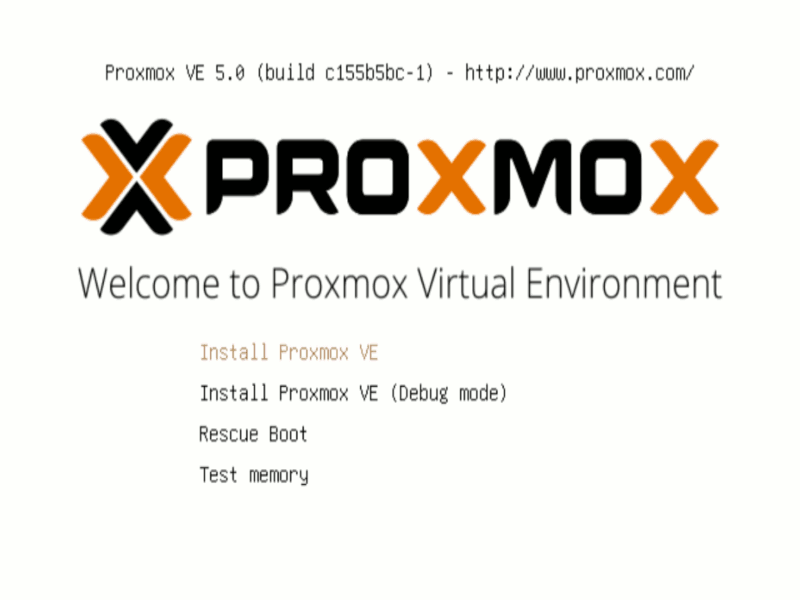
The PVE Quick Installation guide does a wonderful job of highlighting the key installation points and showing how simple the process really is. If you follow the defaults settings, PVE will install to local disks and should take about 10 minutes or less. If you have a large single drive that you want to use, then you can skip to the post-installation section below since that guide is all that you would need.
PVE Installation Process
|
PVE Drive Options
For our setup, we will disconnect all the drives except for our boot drive, and follow most of the default installation options with one exception. Have a peek at the ProxMox PVE installation guide for background on these options. Since we only want to use half of the boot drive (512Gb NVMe) our hard disk options are as follows:
-
ext4filesystem: Standard Linux filesystem is the safe bet. -
176.0hdsize: Shooting for half of our 512Gb. The following values should add up to 256Gb. Equal to 256Gb-80Gb (minfree). -
64.0swapsize: Linux swap file size (equal to our ram size). Be sure to set vm.swappiness to a low value if you have your swap file on an SSD! It’ll increase RAM usage a bit, but will be easier on our SSD. -
96.0maxroot: / root file partition -
80.0minfree: This should equal our ZFS log (16GB) plus our ZFS cache (64GB). -
16.0maxve: This is the pve-data partition.
When you get to the Installation Successful step of the PVE install, click the "Reboot" button.
ZFS Partitions
After rebooting you can log in via the PVE Web GUI or through the command line using SSH. Logging in via ssh:
ssh root@10.10.1.10

#The authenticity of host '10.10.1.10 (10.10.1.10)' can't be established.
#ECDSA key fingerprint is SHA256:2ExP+SHaCo+9ZOt+sk90DPLAafdHFJTHPyeU1qtFXIg.
#Are you sure you want to continue connecting (yes/no)?
Type "yes" and then enter the password set during installation.
After logging into our new PVE installation, we want to add two additional partitions (ZFS Log (16Gb), and ZFS Cache(64Gb)). The combined storage will be 256Gb, leaving us with half of our NVMe for other options like dual-boot, additional storage, etc.
After logging in, run (update for your drive): cfdisk /dev/sda
Go down to the "free space" line in green and add a 16Gb partition. Move down again to the next "free space" line in green and add a 64Gb partition. Then select write and then select quit and we are done.
Creating ZFS Log and Cache Partitions
|

Once these two partitions are added, we can shut down PVE from the command line:
shutdown -h nowZFS Setup
Once PVE has shut down, we can reconnect the remaining drives and restart our system. Before setting up our ZFS storage, we must backup any data that we want to keep.
Let’s start our ZFS configuration. As mentioned in our previous post, we are configuring ZFS as striped-mirrored storage. Since we have a 2TB spinning disk that we want to use for backup, we will mirror it as an automatic backup.
Our drives should all be the same size, otherwise, we will lose storage capacity. Since our SSD drives are 1TB each, we need to partition our 2TB spinning disk to two 1TB partitions. Before partitioning, identify the correct drives; run lsblk to get the list of block devices:
List of block devices
|
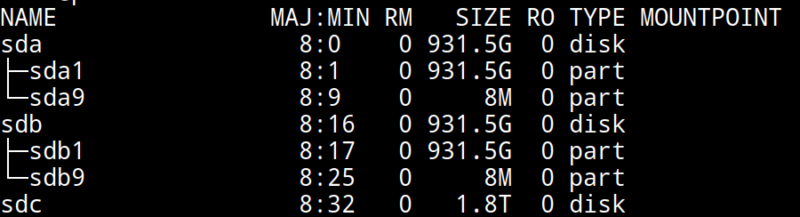
In my example, the 2TB (1.8T) drive is /dev/sdc. The following commands will replace the drive with a new GPT partition table and create the 2 partitions:
# Install parted
apt-get install parted

# remove everything on the /dev/sdc drive and
# replace with two empty equal-sized partitions
parted /dev/sdc --script mklabel gpt \
       mkpart primary 0% 50% \
       mkpart primary 50% 100% p
After partitioning, we can mirror and stripe the drives. When we create the drive mirrors, ZFS creates virtual devices (vdevs). We can then connect the vdevs together into zpools. For example, we can mirror two 1TB drives and we end up with a 1TB vdev that will automatically replicate our data across both drives. Then we combine the two 1TB mirrored vdevs and end up with 2TB of storage.
Since the zpool read/write transactions are balanced across the two vdevs, we can actually get an increase in drive performance with the transactions happening in parallel across two physical drives. We can also compress the read-write transactions on the zpool. Because our CPU can compress-decompress data much faster than the drives can read-write data, our drive performance can improve even more, because of the smaller size of the read-write transactions on the zpool.
# Creating our ZFS mirrored storage pool
zpool create -o ashift=12 tank \
      mirror /dev/sda /dev/sdc1 \
      mirror /dev/sdb /dev/sdc2 \
      log   /dev/nvme0n1p4 \
      cache /dev/nvme0n1p5
|
|
zfs set compression=lz4 tank  # lz4 pool compression
zfs create tank/vm-disks      # ZFS layer to store VM images
Once that’s done, we can run the following commands:
zpool list          # verify that our pool has been created
zpool status tank   # check pool status and configuration
pvesm zfsscan       # list available ZFS file systems
Post-Installation
The PVE open-source license allows for testing and non-production use. If we would like to use PVE for production or we want commercial support, we can purchase a subscription, enter our key through the web interface, and skip to the "Update PVE" section.
Adjusting the PVE Repositories
The PVE Package Repositories can be configured depending on your usage goals. Let’s include the non-commercial list of repositories.
Run nano /etc/apt/sources.list and update as follows:
# main debian repo
deb http://ftp.us.debian.org/debian stretch main contrib

# security updates
deb http://security.debian.org stretch/updates main contrib
Save and exit: press CTRL+X, Y for yes, and ENTER.
Comment-out the PVE commercial repository.
Run nano /etc/apt/sources.list.d/pve-enterprise.list and update as follows:
# non-subscription repo (manual update)
deb http://download.proxmox.com/debian/pve stretch pve-no-subscription
#deb https://enterprise.proxmox.com/debian/pve stretch pve-enterprise
Save and exit: press CTRL+X, Y for yes, and ENTER.
Update PVE
Edit our resume settings: run nano /etc/initramfs-tools/conf.d/resume and add:
RESUME=noneSave and exit: press CTRL+X, Y for yes, and ENTER.
Update the software packages, boot loader, and system image. From the PVE, command line type:
apt-get update && apt-get upgrade -y
update-grub
update-initramfs -u
Update the PVE Storage System:
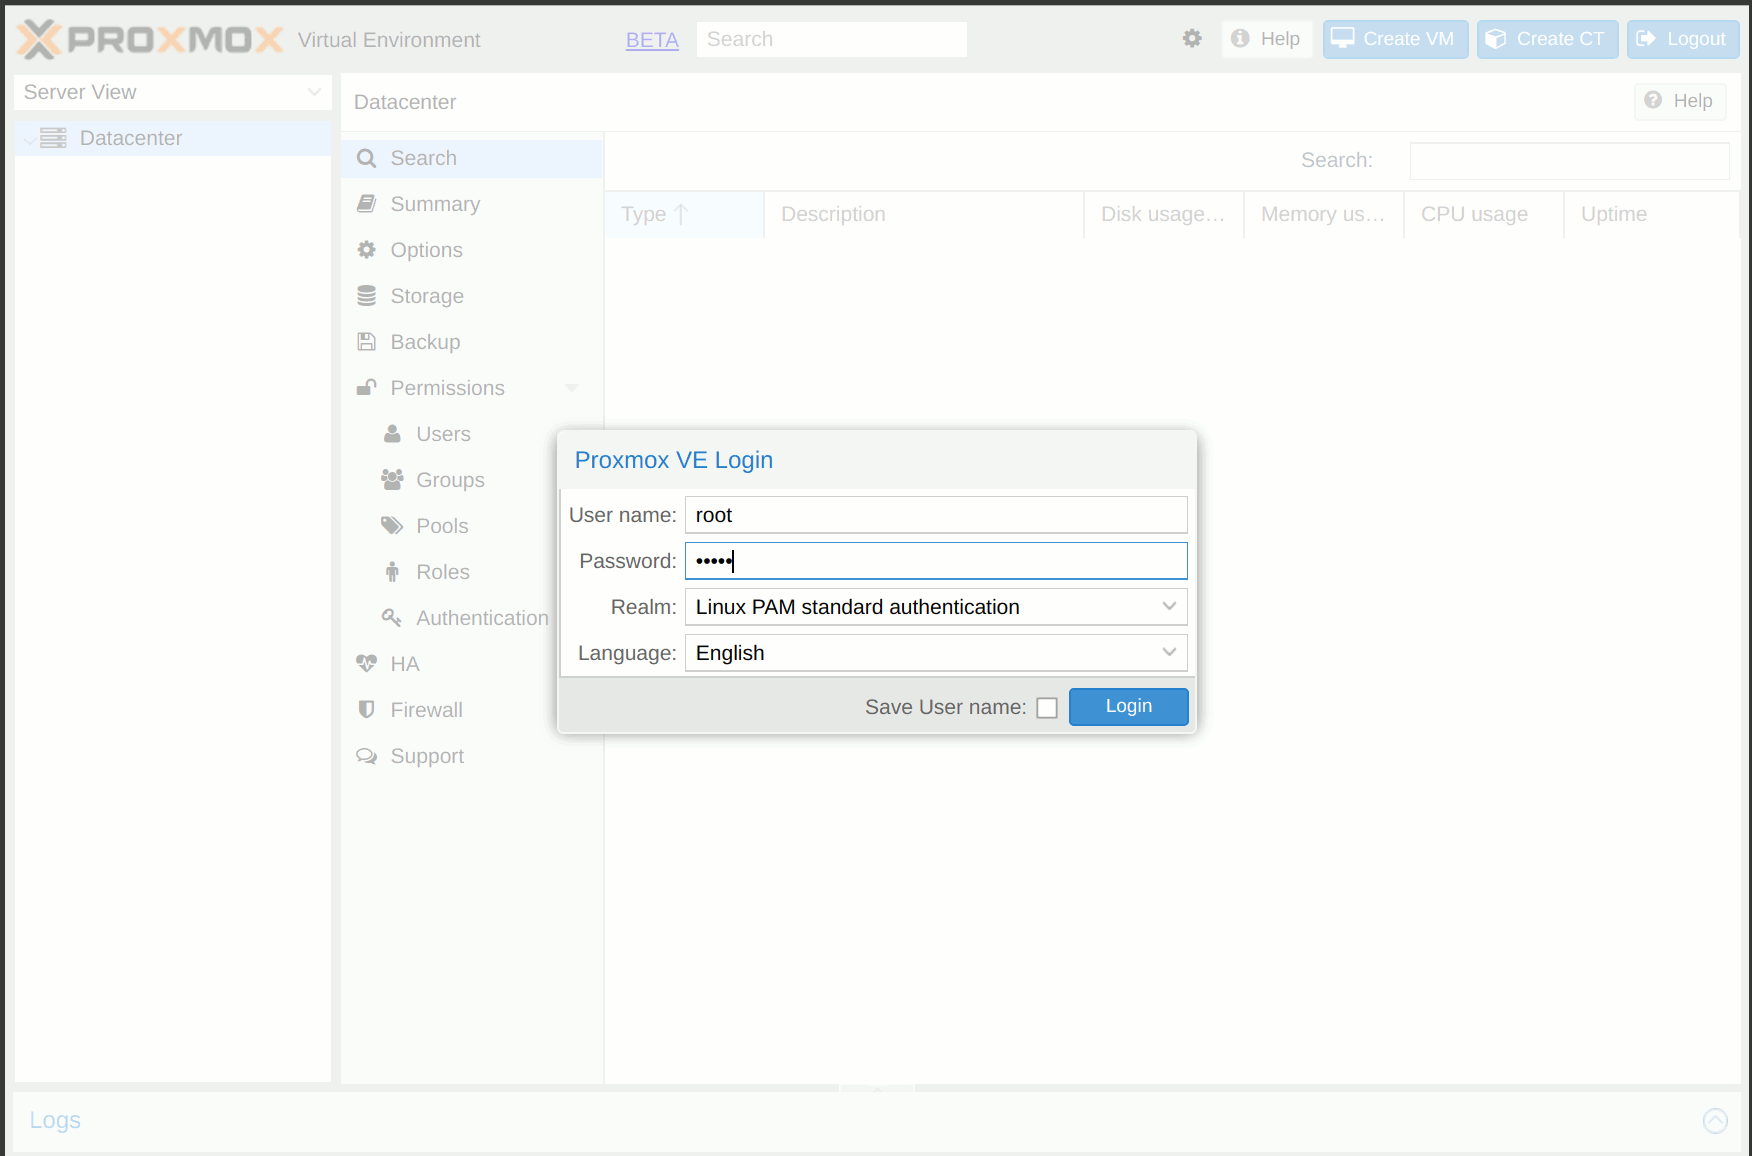
Once we create our ZFS storage, we can go to the PVE Web GUI and add it to our setup. Being sure to use HTTPS, open https://machine-ip-address:8006 in a web browser. When we get the certificate warning message, we should proceed anyway. This happens because the machine does not have a certificate signed by a third party. Our goal is to end up with four storage volumes:
|
|
Once logged in, we go to Datacenter > Storage, and:
-
click Add > ZFS, then enter "vm-disks" for ID, and select tank/vm-disks for pool, choose only Disk Image for content, and finally tick the Thin Provision checkbox and select Add.
-
click Add > ZFS, then enter "zfs-containers" for ID, and select tank for pool, and Container for content, and select Add.
-
click Add > Directory, then enter "zfs-backups" for ID, enter "/tank" (/our-zfs-pool) for directory, and choose only VZDump backup files for content, then select Add.
-
click Add > Directory, then enter "zfs-templates" for ID, enter "/tank" (/our-zfs-pool) for directory, and choose both container templates and ISO images for content, then select Add.
After adding our new storage options, we can disable the local storage:
-
select local-lvm, click Edit, untick the Enable checkbox, and click "OK".
-
select local, click Edit, untick the Enable checkbox, add "1" for Max Backups, and then click "OK".
Afterward, if we select the arrow next to pve in the Server View, we will only see only four enabled storage options.
PVE Storage Volume Setup
|
We made it! With only one storage volume for each type of content, there’s no way to accidentally misplace something. Creating containers and VMs should function as expected.
Our machine is ready to go, however this is only part 2 of our multipart tutorial. Our next installment will cover some opportunities for System Optimization.